Showing posts with label Scrappy Blocks. Show all posts

Saturday, December 8, 2012

Craftsy Block of the Month for May 2012

1. Modern Log Cabin Block


This Log Cabin block is supposed to be very improvisational.  There is no measuring or pre-cutting of strips.  The only suggestions were to skew the block so that the centre is framed and is off-centre.

Framing the center was easy.  I used a tulip fabric for the centre and chose to sew a narrow frame around it. 


To keep it off-center, I added narrow borders to the right and bottom of the centre block and added wider borders to the left and top of the centre block.  This was done to the second and fourth borders.

The finished size of this block measures 12-1/2" square.


2.  Wonky 5-Sided Log Cabin Block

This log cabin block is also improvisational and needs no measuring or pre-cutting of strips.


Rotated 180 degrees, it looks like a house!
In the beginning, there was a basket full of scraps.  The two suggestions were to create a wonky 5-sided log cabin block and to give it a scrappy look.


For the centre of the block, I chose to make a house which has 5 sides.  This was my first attempt at creating the 5-sided wonky log cabin block, but it was so small that I decided to frame it.
  

A second attempt to create a 5-sided block didn't succeed because the diagonal cut (green triangle at bottom right edge) was too small.  So I tried again.


For some odd reason, I found it really hard to keep from squaring up the block.  Notice the first time a wonky side was introduced, it was very soon after squared up so that the fifth side was lost.  The same thing is about to happen here.  So it's back to the scrap basket, as I try to finish up the block.


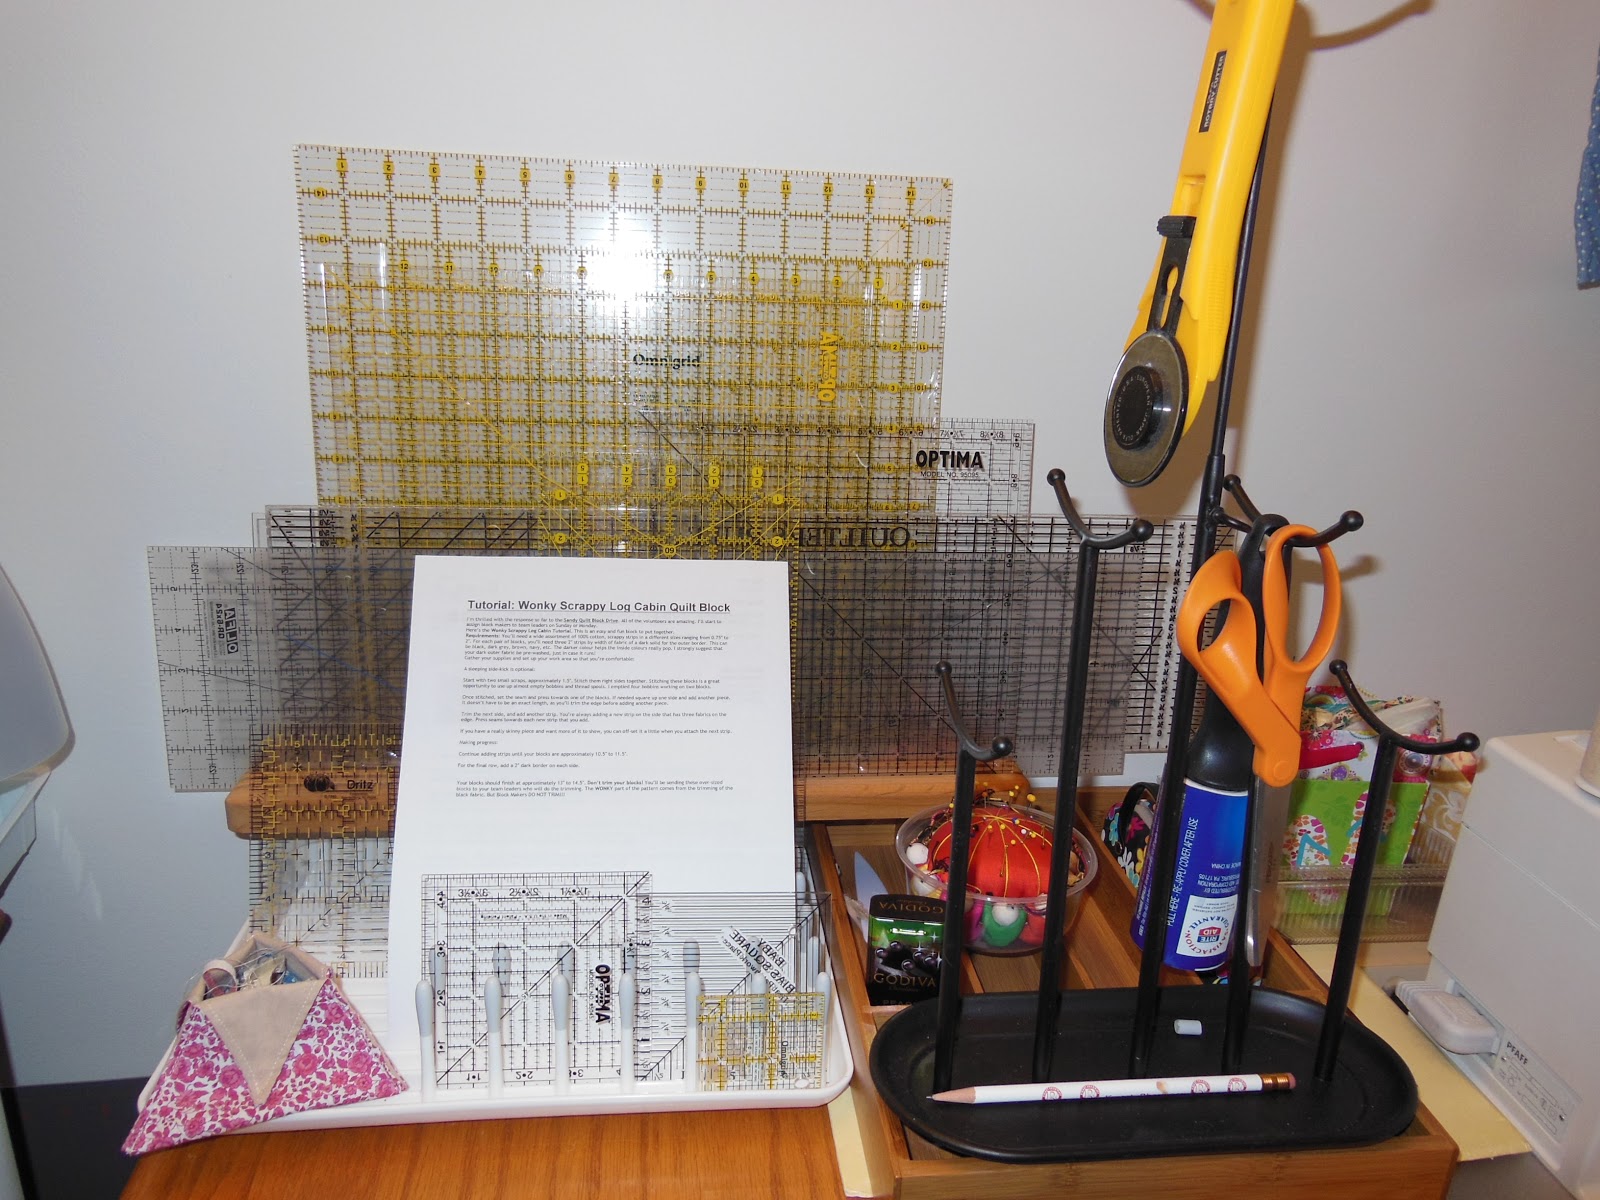
I usually try to maintain some order in the work place, but not so today.


The cutting table looks the worst.


Before attempting to create a truly wonky log cabin block, it looks like this mess will have to be cleaned up and order restored, which may help the brain to function better. Well, that never happened.

Instead I moved right on to creating that diagonal fifth side.  Here is tip #1.
To create that wonky side requires a (brave) deep cut spanning at least a couple of strips.


I realized that in order to maintain the diagonal edge, the two sides adjacent to it has to be trimmed  along its bias edge. This is tip #2.


And Here is tip #3.  When a strip is being added to this bias edge, the strip must be longer than the bias edge, so that it doesn't fall short of fabric when it's trimmed.

Having a bias edge on one side of the block didn't seem to do it, so I chopped off the adjacent edge. and created another wonky side.  And here's how the block ended up.  It finished at 12-1/2" square.


Now here's the really strange part of this entire exercise.  I ended up with a basket that has more scraps than when I began!  Don't ask me how that happened :)


Cheers & happy quilting!


Sunday, December 2, 2012

Sandy Quilt Block Drive - At the Finish Line

Voila!  I'm so excited to unveil my finished blocks for the Sandy Quilt Block Drive.


My 10 blocks and quilt label are ready to be shipped to the team leader.  She will turn the blocks into wonky log cabin blocks and then will use her longarm quilting machine to layer and finish the quilt.  Each quilt uses 42 blocks, so my 10 will be a small part of the whole quilt that will be presented to someone who needs it.

Each block finished at 10-1/2".


Vertical sashing strips were cut at 10-1/2 "L x 2-1/2"W.


The vertical strips were sewn to two opposite sides of each block and pressed away from the center of the block. Horizontal strips were then cut at 14-1/2"L x 2-1/2"W, sewn to the two remaining sides and pressed away from the center of the block.


The black borders make the center of the blocks pop!  Take a look at two blocks with and four without borders.


The other requirement was to provide the team leader with a 5" square quilt label which will be sewn to the back of the quilt.  I designed it on the computer. To use up the entire sheet of printer fabric, I created two labels. One will accompany my first 10 blocks and the other has been set aside for my next shipment.


Making these quilt blocks was a lot of fun and made a small dent in my stash of scraps.  It's going towards a good cause which adds to my sense of satisfaction. 

My hope is that you will be inspired to help out, too! 

Cheers!


Related Links:


Friday, November 30, 2012

Sandy Quilt Block Drive - An Update

Yes, the blocks should have been shipped off by now, but Thanksgiving happened and it was the best TG ever!  Now that all the feasting is done, it's back to finishing those blocks! To refresh our memories, here are the blocks at 6-1/2 inches and you can catch up on the start of this project here.


So, on with the sewing and pressing and trimming and pressing...


And here they are at 10-1/2" square.


Notice how they look right up against one another.  Actually let me show you a close up of a pair of blocks. They kind of blend into each other.


Here are two blocks with sashing and four without...Okay, I have to admit each grouping has its own charm.  However, in order to create wonkiness, the sashing is necessary. The black borders give them a stained glass look, don't you think?


It's late now, so we'll save the finale for another day, but hold on to this last image because the finished blocks look amazing! 

Cheers!

Related Links:


Monday, November 19, 2012

Sandy Quilt Block Drive - In the Beginning

A block made following Quilting Gallery's Tutorial
Wonky Scrappy Log Cabin Quilt Block

The Quilting Gallery needs help with their first ever Quilt Block Drive for victims of  super storm Sandy.  I volunteered to make 10 blocks for the Sandy Quilt Block Drive.

They've provided a great tutorial for the Wonky Scrappy Log Cabin Quilt Block, a sample block of which is pictured above.

So I got organized and pulled out all the strips I've collected over the years. Each strip should measure between 0.75" and 2".

Strips from my stash
Washed and ironed several more fat quarters, also from my stash.


Fat Quarters at the ready
Cut more strips.


And began organizing my work area.  Placed the instructions in a visible location away from all the activity.

Instructions from Tutorial without pictures
Set up my cutting table with ruler and rotary cutter.

Cutting Station
Turned the iron on high.

Ironing Station
Readied the sewing machine.


Sewing Station
And began chain piecing the first two 1-1/2" squares.

Chain piecing center of block
They were pressed open and away from the center.  The third strip was then added.

Chain piecing the third strip
The sewn seams were pressed in place.

Pressing sewn seams prior to trimming
The blocks were then trimmed even with the top and bottom of the block.

Blocks are trimmed
And pressed open.

Pressed open
And so the process continued of chain piecing, pressing, trimming and pressing. And pretty soon the sewing area looked pretty messy.

Time to clean up!
My blocks (14 in all) currently measure 6-1/2" square.  They're supposed to finish at around 11.5" without borders and finish at between 13" to 14.5" after a 2" border is sewn on all four sides of each block.  So I'm at the halfway point.


Hope to get them done by tomorrow evening so I can mail them on Tuesday.  Here is a preview of what my blocks look like on the design wall.


I love quilting!  And I love quilting even more when it's for such a good cause!

Cheers!


Friday, May 25, 2012

An Asian Inspired Wall Quilt - Part 1


The Fabric Selection Phase

I've taken the first step in the creation of a quilt inspired by Japanese fabrics, the fabric selection phase.  A long time ago, before the year 2000, I made a Fan Quilt. At that time, I'd sent for a Japanese Fan Quilt kit from a mail order company. It came with numerous little rectangles of Japanese fabrics, and yardages of black fabric and printed fabric for sashing and borders.

Sashing and border fabric
Craftsy's April BOM challenge was to come up with an alternative design for the English paper pieced hexagon shape. So I dug out the fabric kit and laid out a few of the pieces.

Rectangles of Japanese fabrics
These rectangles of fabric are just large enough to accommodate the 2" hexagon template.  Here are the templates I'd made for Craftsy's April BOM.  They're in 2". 1-1/4" and 3/4" hexagon sizes.

Hexagon Templates
I saved the parchment paper pieces I'd made from these templates.

Parchment paper pieces
However, I may not need to use them because I plan to use a unique technique I saw somewhere on someone else's blog to form the hexagons.  I will track down that blog, so that you too can try this technique!

So watch this space for the next phase of this project - Part 2, the Design Phase.