Showing posts with label IMQG Challenge. Show all posts

Sunday, April 15, 2012

IMQG April Challenge - A Shortcut to Cathedral Windows

The rules for April's challenge are to
1) use the colours of the IMQG logo to make a quilt block that reflects what modern quilting means to you, and 2) plan an interesting composition that represents your own unique voice.


Take a look at the IMQG logo in the bar to the right of this post. The colours are blue, grey, rust and white. And here is the Cathedral Windows block I've made.


Cathedral Windows block
I picked out the fabrics and cut 


2 grey squares 6-1/2" x 6-1/2",
2 blue squares 6-1/2" x 6-1/2",
1 rust square 6-1/4",
4 white squares 5-1/2" x 5-1/2".


This will make a 12-1/2" finished block.


Fabrics are cut and ready to go!
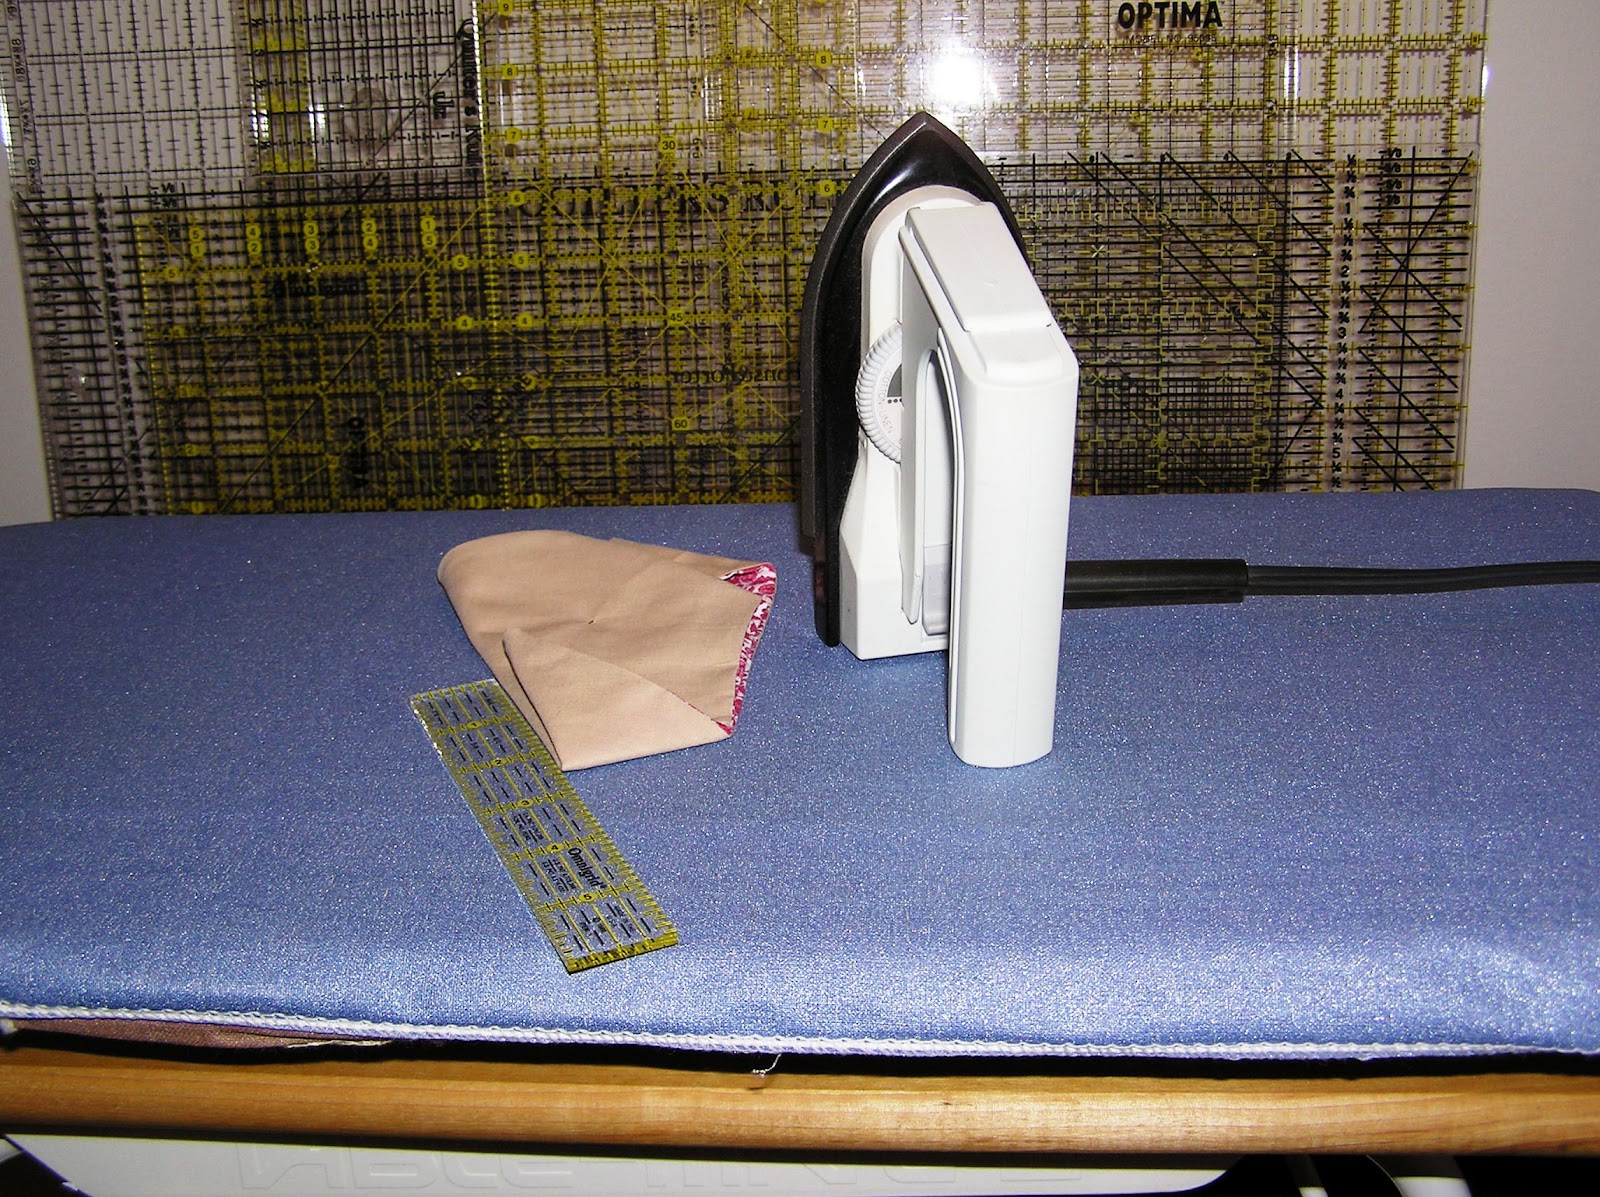
Notice the white squares have been folded on the diagonal and pressed.

White squares are pressed on the diagonal.
It was now time to preview the block.  The grey and blue squares form the foundation, the white triangles the frame and the rust square forms the window pane of this Cathedral Windows block.

A preview of the block.
I need to make two sandwiches:

1st sandwich -
   1 grey square, face up
   2 white triangles with raw edges lined up with the bottom right corner
   1 blue square face down

2nd sandwich - 
   1 blue square, face up
   2 white triangles with raw edges lined up with the top right corner
   1 grey square face down.

The two sandwiches were chain-pieced on the right side and the seams were pressed towards the grey or darker fabrics. Then the seams were nestled together, and pinned.  The top and bottom units were sewn together and the sewn seam was pressed to one side.


Four units sewn and pressed.
The foundation and frame have been constructed.  Now it's time to insert the window pane.  The four dimensional or bias sides of the center square are folded down over the rust square and pinned in place.

Frame and window pane are pinned in place.
The frame is sewn to the window pane and the Cathedral Windows block is ready!

I love the Cathedral Windows block.
Having satisfied the first rule of the challenge, let me tell you what modern quilting and this guild (IMQG) means to me.

I now consider myself a modern quilter. I'm open to setting aside the tried and true, and traditional ways of constructing a quilt.  Modern quilting has opened up endless possibilities and encouraged me to 'step out of the box'.  That is so very liberating! 

This is what this guild means to me.

I stands for India, Innovation, Imagination and Inspiration.
M stands for Modern Members who are Marvelous and Merry.
Q stands for Quilt, Quality and Quantity.
G stands for a Guild that is Generous, Gregarious and downright Glorious!

How does this block represent my unique voice?

The technique that is used to construct any quilt block is what intrigues me the most.  I made a Cathedral Windows quilt (36" x 36") for the IMQG January challenge, using the tried and true, traditional method.  It's beautiful and I love it, but towards the end of the construction, I was very exhausted and my enthusiasm to make another Cathedral Windows quilt was somewhat dampened.  

Then I came across an Innovative way to make a Flying Geese block using just one seam on the internet  and decided to apply this Imaginative technique to the construction of a Cathedral Windows block.  It worked like a charm and that makes me feel Marvelous and Merry!  I'm also feeling Generous enough to share this technique with the other Modern Members of this Quilt Guild and hope the tutorial I've provided above meets the standards of Quality that so Inspires me every time I see the Glorious quilted projects that our Gregarious guild members have made and displayed on our Facebook group page.  

Cheers, everyone!   


Saturday, March 10, 2012

IMQG March Challenge - Bonus Project

Star Windows Mug Rugs

For the IMQG March Challenge, I was able to make three thread catchers from two fat quarters and was left with an 8" by 22" strip of the two fabrics.


Cathedral Windows is a favourite pattern of mine.  A member of Craftsy recently sent me a pattern for Star Windows which uses a similar technique.  I decided to experiment with this pattern, so I made templates for the window and pane.

A clearer picture of the two templates
Pane template on left, window template on right


The templates were traced onto the wrong side of the solid fabric (three times), the two fabrics were placed RSF (right sides facing) and sewn by machine.


After the first one was sewn, I discovered that the patterned fabric was facing the wrong way.  Thank heavens I noticed it before all three were done!  It had to be taken apart, re-layered and sewn again.

Oops...fabrics are facing the wrong way 
The windows were sewn all the way around for a reason.  After deciding where the opening should be, I marked the area with two pins and back-stitched at the pins and sewed across the opening.  This was so that the flaps for the opening could be pressed apart to make it easier to sew after turning it right side out.

The solid fabric was pressed away from the seam
Same for the patterned fabric

The opening was taken apart after pressing, turned right side out and pressed.  Using the hexagon or pane template, the petals were turned down and sewn in place creating three Star Windows.


I plan to make a king size quilt (108" by 108") of this pattern one of these days, using black fabric for the background or windows and Kona bright solids for the interior panes.  This is how the Star Windows would be assembled.

Two side by side
The third inset between the first two
From point to point each of these units measures 5 inches.  These are the first mug rugs I've made.


Friday, March 9, 2012

IMQG March Challenge

Snippets & Threads Catcher

Here are the rules for the IMQG March Challenge: 

1.Use ONLY two Fat Quarters, of which one should be solid, and one print.
2.Repeat - The ENTIRE project should be made from JUST these two fat quarters. And threads, of course!


 I found this adorable project on http://robinquiltsetc.com/files/Snippets_and_Threads_Tutorial_1_.pdf.

Snippets and Threads (A Foldable/Portable Catcher)
Following Robin's instructions, I made myself a plastic template of an equilateral triangle.  In order to get more than one catcher out of the two fat quarters, I reduced the size of the triangle from 12 inches to 10 inches on all three sides.

Plastic Template of a 10-inch equilateral triangle
I then picked out my two fat quarters, one solid and the other a print.  I pinned them together and traced the template three times.  Twice with the base of the triangle along the bottom edge, and once in between the two with the base on the top edge.  The markings are barely visible, but they're there.

Two fat quarters RSF (right sides facing)
All four sides were pinned and transferred to the sewing machine.
All four sides are pinned
The three triangles were sewn, leaving a gap at the base of each triangle.

The three triangles are sewn
The triangles were segmented and the corners were snipped away.

Segmented with corners snipped
Each triangle was turned inside out and the corners brought to a point with the aid of a 'gizmo'.  It was pressed along each seam and sewn all the way around with a 1/8 seam allowance. 

Turned inside out
This was the most challenging part of the project - turning the corners down .  My first attempt was to fold the triangle in half, turn the corner down and measure 2-1/2 inches from point to fold.  Oops, I did that on the wrong side.
Measuring a turned-down corner of 2-1/2"
 So I tried it on the folded side.  I then pressed the fold, opened it up and folded it down, but it wasn't the right measurement.  It just didn't look right :(

Second attempt at turning down a corner
 If at first you don't succeed, try, try again!  The third time worked like a charm.  I measured down on both sides of each corner and inserted a pin.

The third attempt worked its magic :)
 The triangle was turned over with the inside facing up.
Triangle was turned over
  Each side was folded in half and sewn from the fold to the pin.

Left fold is sewn to the pin
The other two sides were sewn down in the same way.
Other two sides were sewn
 The corners were turned down and attached.

Placed a catcher on my ironing table
Placed one on my cutting table
And the third on my sewing table
They lend a personal touch to my sewing room
And they're useful too!
Thank you, Robin C. Gallagher of Seal Beach, California!

Cheers, everyone!

Monday, February 20, 2012

The IMQG February Quilt Challenge

Foundation Pieced Miniature

February has been an eventful month because Son #2, Pran and Robyn, were married on Febrary 11th, at Harvard Chapel in Cambridge, Massachusetts.  It was a small wedding that was planned and flawlessly executed by Robyn.  This was probably the best weekend we've spent away from home in a long time because everyone was so happy for Pran and Robyn :) 

It was an exceptionally heavenly weekend for me because we stayed at The Charles Hotel in Harvard Square.  Art at The Charles consists of regional art in America with an emphasis on New England culture, namely quilts which were on display on every floor (10 in all) of the hotel.  I was in quilters' heaven and spent any spare time I could examining them!  My only regret was that we didn't have our camera with us, so no pictures to show for it.  Each and every room had patchwork quilts on the beds.  Take a look at
http://commons.wikimedia.org/wiki/Category:Quilts_in_the_Charles_Hotel for a very small sample of the quilts at The Charles Hotel.
On to the main event - The IMQG February Quilt Challenge!
Rules:
Make a mini quilt, no smaller than 6" x 6" and no larger than 24" x 24".
Use only scraps. No new fabric should be used.

Theme:
The quilt should say something about the most memorable holiday that you ever took whether it was 2 or even 25 years ago!

Deadline :
28th Feb 2012.

Here's my story.

My husband and I had taken a road trip of Alaska in the autumn of 2006.  We flew to Anchorage, rented a car and drove to Denali Park and other beautiful places.  The view of Mt. McKinley from Denali Park was pretty awesome!

To memorialise this vacation, I decided to use a foundation-piecing pattern I had squirreled away for over a decade.  Unfortunately, a picture of the pattern cannot be provided because of copyright restrictions.

Scraps left over from the January IMQG challenge were staring me in the face, so I decided to use some of them to create an autumn landscape of Mount McKinley in Akaska.  The blue fabric is the only one not used in January's quilt.  I wish I had a lighter blue fabric for the sky, but since we had to use left- over scraps of material, I settled for this one from my stash.  Besides, the autumn skies at Denali Park were an incredible blue!


My miniature quilt measures 8-1/2 by 8-1/2 inches.  It is my first art quilt and I've become very attached to it over the last couple of days.  It is very simply quilted 'in-the-ditch' because I haven't the nerve to try free-motion quilting.  I've signed up for an online workshop with Craftsy to learn the craft and after a lot of practice, may try it on this quilt sometime in the future.

Once the fabrics were all sorted out and decisions made as to their placement, it took me exactly four hours to foundation-piece the top.  Take into account all the reverse sewing (if you get my drift) and fabric pieces that were chopped away by mistake, I'm surprised it didn't take longer!

Another couple of hours spent layering, quilting and binding  this little quilt and it was ready to hang and be admired!

Let me again give thanks to The India Modern Quilt Guild for inspiring me to try my hand at art quilting.  I love belonging to The IMQG and look forward to the next challenge!

Cheers, everyone!


Thursday, January 26, 2012

IMQG January 2012 Challenge

Cathedral Windows Quilt

IMQG stands for India Modern Quilt Guild on Facebook.
January's Quilt Challenge rules were as follows:

Shruti's post on IndiaMQG:
Here's your January Challenge :
Make something using ONLY warm colored solids! The item could be anything you want...
Rule # 1 : WARM COLOR SOLIDS ONLY
Rule #2 : Item should be ready on 26th January 2012
Rule # 3 : Photos of the item should be posted here before the deadline.  You can include more than 1 photo and link up to your blog if you have written a post about it.
I'll try to rope in a judge for every month from the other modern quilt guilds...
good luck girls!
Cheers!!!

I can't believe this was done on time!  Here it is, 2 projects for January integrated into one quilt.  The center medallion (Asterisk) is my Craftsy Block of the Month for January which I made out of warm colors to satisfy the IMQG January Challenge which requires only warm, solid colors be used in a quilt.
This provides a close-up of the warm colors I used in the quilt.
The very dark (almost black) colors are a deep brown and burgundy.

I've wanted to make a cathedral windows quilt for some time now.  Making the foundation blocks was a pretty tedious process, but once I started applying the windows, it was like popcorn!  I couldn't stop at just one.  I became totally obsessed with the construction until it was all done.  And yes, I will make a bed-size quilt using more cheerful colors in the windows.

This was very satisfying to construct because the sewing and quilting are accomplished in the same step!  And there's no need to bind the quilt.

Thank heavens for the internet because I found the instructions for cathedral windows at


I followed the instructions for A Modern Approach on this website.