1 Seam Flying Geese Method
For the second method in this series for constructing Cathedral Windows, we will be making a 20” cushion or table topper comprising 16 blocks arranged 4 blocks across by 4 blocks down.
 |
| Cushion Cover |
 |
Without the cushion insert
|
The components of a Cathedral Window block are the foundation/ background fabric, the frame and the windowpane. It is really simple to make this block using two Flying Geese blocks, each made with just 1 seam.
Cathedral Windows block constructed with
2 Flying Geese blocks, each made with 1 seam
Table for Cutting Instructions
Note: - The cutting instructions will make 1 Flying Geese unit. 2 units are required for each Cathedral Window block.
- The numbers in parentheses in the column descriptions represent the number of units required for each FG unit.
- The window pane should be cut ¼” smaller than the finished size of the frame. Measure for and cut the window panes after the first block is constructed.
Block Size
|
Foundation (2)
|
Frame (1)
|
Window Pane (1) approx.
|
4”
|
2½”
|
2½”
x 4½”
|
2”
|
5”
|
2¾”
|
2¾” x 5”
|
2½”
|
6”
|
3½”
|
3½”
x 6½”
|
3”
|
8
|
4½”
|
4½”
x 8½”
|
4”
|
10”
|
5½”
|
5½”
x 10½”
|
5”
|
12”
|
6½”
|
6½”
x 12½”
|
6”
|
In the picture below, the patterned squares will form the foundations, the white rectangles the frames and a variety of printed squares (not shown) will form the window panes. For 16 Cathedral Window blocks that will each finish at 5” square, cut
64 patterned squares 2-3/4" (foundations)
32 white rectangles 2-3/4" x 5" (frames)
16 patterned squares 2-3/4" (window panes – not shown)
Fabrics for Cathedral Windows block are cut and ready to piece
Form two sandwiches as follows:
- Place 1 patterned square, facing up, on the work surface.
- Fold 1 white rectangle in half, wrong sides together, aligned at the raw edges with the top of the patterned square.
- Place 1 patterned square, face down, on top of the white, folded rectangle.
Begin sewing from the raw edges all the way down the right side only. Make sure that the folded edge of the rectangle is closest to you and notice it is 1/4" shorter than the two squares.
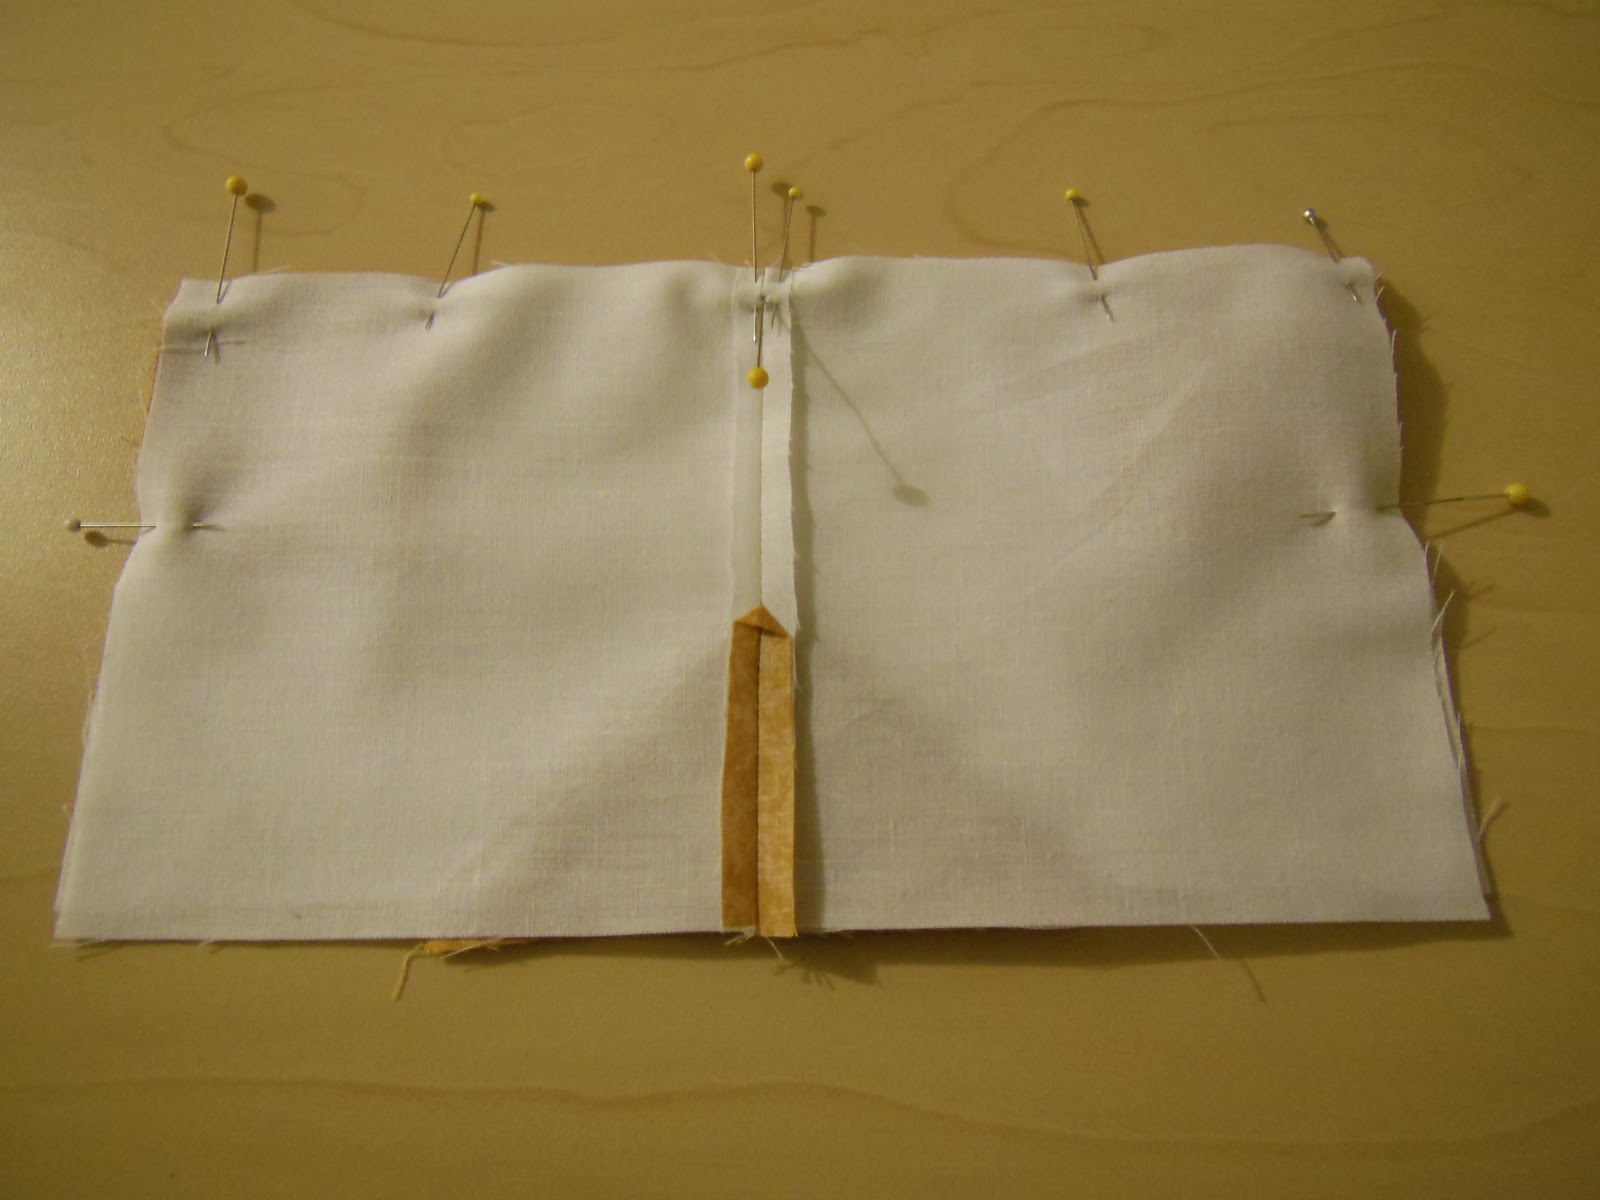
Open up the center rectangle, aligning the raw edges with the bottom edge of the unit, making sure the points on the base meet the left and right edges of the unit. Also make sure that the tip of the Flying Geese is 1/4" from the top edge. Pin at the base, opening the seam on the back.
Pin the base and press seam open on back
Press the seam open and sew the base of two Flying Geese units together.
2 Flying Geese units sewn at base
Press the seam open.
Press all seams open to reduce bulk
Place a window pane square in the center of the frame and pin the bias/dimensional sides of the frame over the window pane.
Frame is folded over pane and pinned
Sew the frame in place and a Cathedral Window block is complete.
One block is complete
Here's an arrangement of four blocks.
An arrangement of 4 blocks
Make 16 Cathedral Window blocks, arrange 4 across by 4 down.
 |
| Preview arrangement |
Sew the blocks together, making sure that the points on each block match points on adjacent blocks,
and the top is complete.
To make a table topper, cut a square of material the same size as the top, place the two pieces right sides together, sew all the way around the four sides leaving a space for turning, turn it inside out, sew the opening, press the seams and it’s done!
I hope you have as much fun as I did making these Cathedral Windows!
Cheers!
 This is where I'm at with this quilt. After making ten more of each of the two blocks and adding two more rows to the length, it now measures 47.5" x 66.5" (unfinished). By adding a 5" border on all sides, it should make a comfortable lap quilt that will finish at approximately 60" x 80".