 |
Mouse Pincushion with Matching
Scraps/Thread Catcher |
This duo was made last April for a DQ Challenge project. Links were provided in that post for making the pincushion. I've since received a request to share the directions for the thread catcher, so here it is.
 |
| Nonni's Biscotti |
 |
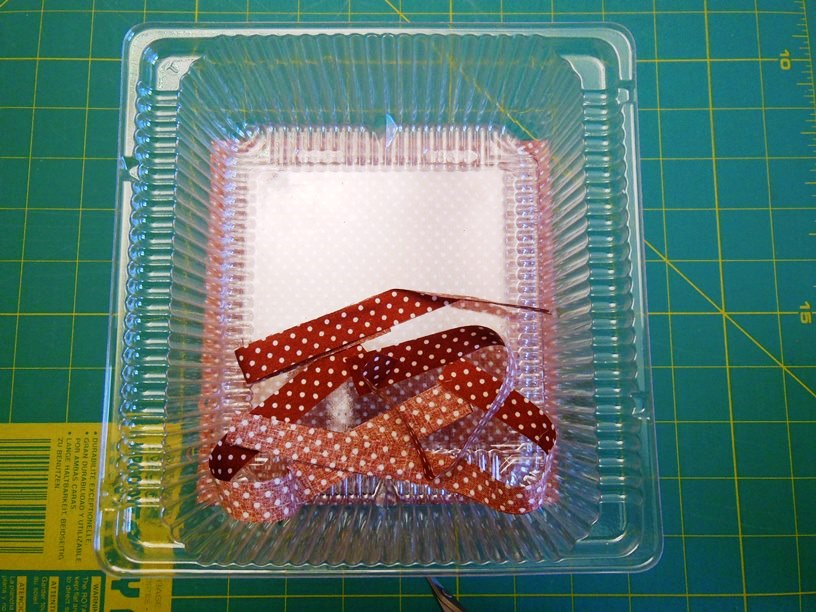
| Plastic Tray |
It all began with these plastic trays that were waiting to be recycled, except I just couldn't bring myself to place them in the recycling bin. This tray will form the basis and inside of the thread catcher. It measures
6" W x 6-1/4" L x 2" H.
 |
Fabric for Reversible Thread Catcher &
Mouse Pincushion |
I thought the polka dot fabric would look cute on the mouse pincushion, so the fabric with the smaller dots was set aside for this purpose. The bigger polka dots and neutral fabric was ideal for the thread catcher because it was the larger cut of the two polka dot fabrics.
 |
| Measurements of Plastic Tray |
As you can see, the tray is not square. After adding a half inch all around, the cutting measurements from each of the two fabrics consists of:
1 rectangle for the base - 6-1/2" by 6-3/4"
2 rectangles for 1 side - 6-1/2" by 2-1/2"
2 rectangles for other side 6-3/4" by 2-1/2"
 |
| Need an Outline of the Top of Tray |
After cutting a base rectangle using the above measurements, the plastic tray was placed top down on the wrong side of the fabric and using a ball-point pen, the outline was drawn on the fabric.
 |
| Outline Drawn With Ball-Point Pen |
I decided to use the darker fabric on which to draw the outline so that the ball-point pen markings would not show through on the other side.
 |
Measuring Gauge Helped to
Mark 1/4" Points on all Corners |
The lines on each of the four rounded corners were extended and using a Measuring Gauge, 1/4" points were drawn on all four corners. This would serve as the stopping points when sewing the four sides to the base.
 |
| Lining Fabric with 4 Sides and Corners Sewn |
After all four sides and the corners were sewn together, the two pieces were placed inside one another with right sides together and sewn all around the circumference of the rectangle, leaving a gap of about 4 inches to turn inside out. Once it was turned inside out and the seam pressed, another line of stitching around the rim of 1/8" finished it and closed the gap at the same time.
 |
| The Finished Scraps/Thread Catcher |
As a finishing touch, I added psychedelic rick-rack around the rim on the polka-dot side of the reversible thread catcher.
 |
| Other Side of the Reversible Thread Catcher |
Here's how it looks with the dark side in and the light side out. Considering the design and sewing were all done in an ad-hoc fashion, I had a good time figuring it all out and was really pleased with the end result!
Cheers everyone!


No comments:
Post a Comment
Thanks for stopping by. I love to hear from all of you, so please feel free to leave a comment.
If you have a question I'll reply to your comment. If you prefer an email response, please mention that and make sure your blogger profile is linked to your e-mail, otherwise I won't be able to e-mail you back.
Please note that any and all comments posted by 'Anonymous' persons are deleted without exception as a means of nuisance abatement.
Thanks so much for reading and commenting on this post.
Chumkie.